|
|
Post by bogger44 on Jul 10, 2010 18:19:52 GMT -5
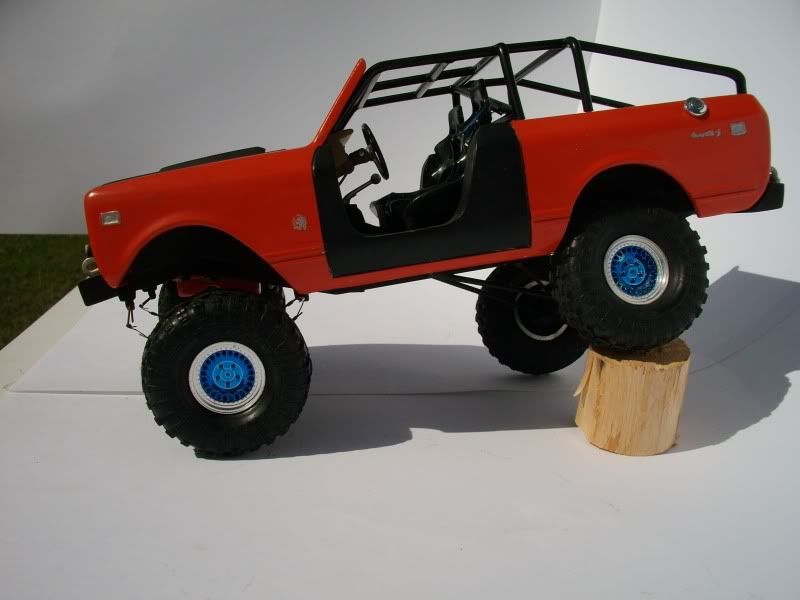
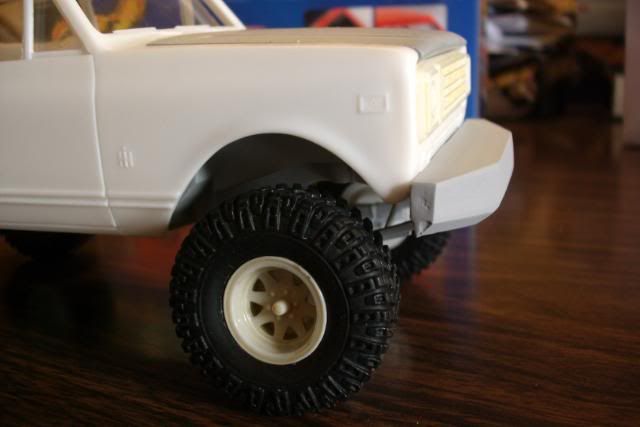
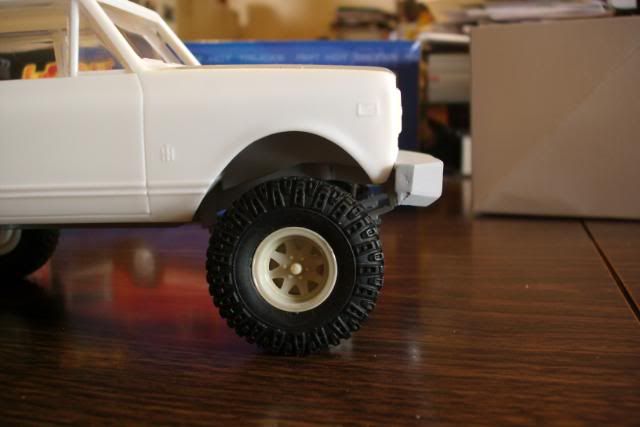
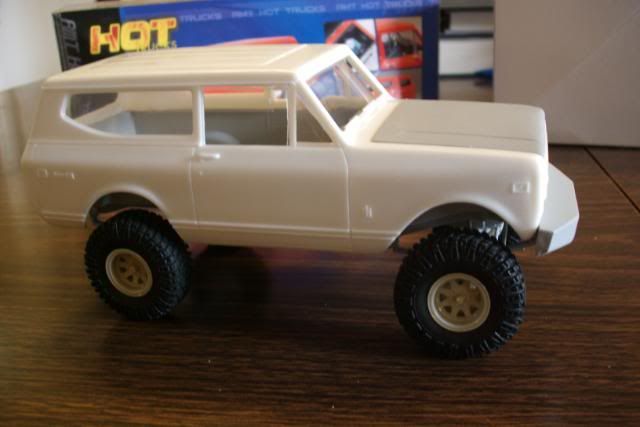
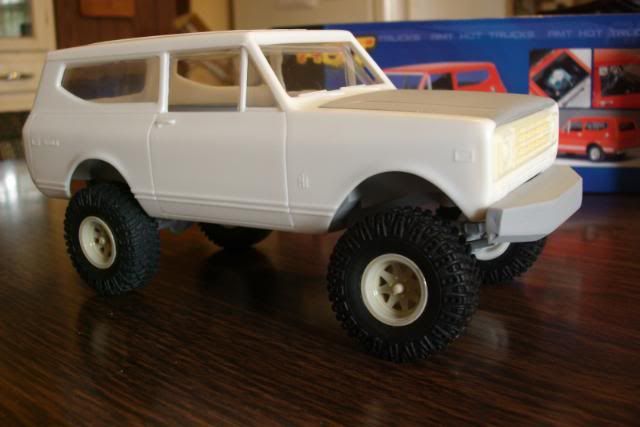
Hey guys! I finally had some time to post up some pics of my current WIP. Body detailing was my first step, scribing in the missing lines for the splash pan, rocker panels, fender/cowl area, and the taillight caps. Also, I flattened out the hood and shaved down the top of the radiator support and grille. Now I have turned my attention to the suspension, converting it to a spring over setup. Though there is more work and clean-up needed, I have "tacked" it all back together to check the stance. Currently, the front is slightly lower than the rear, so I think I may fab up a small set of shackles to level up the front. 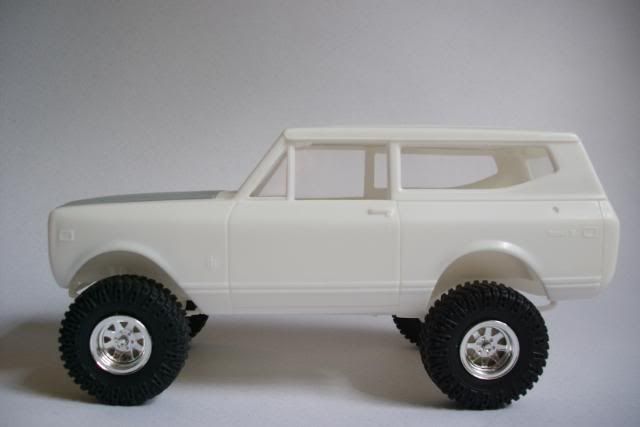 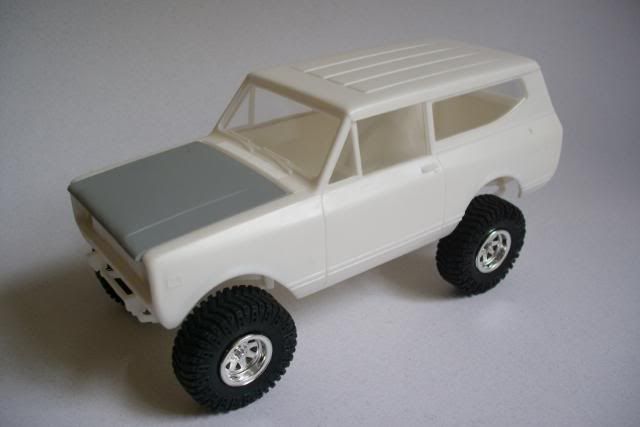 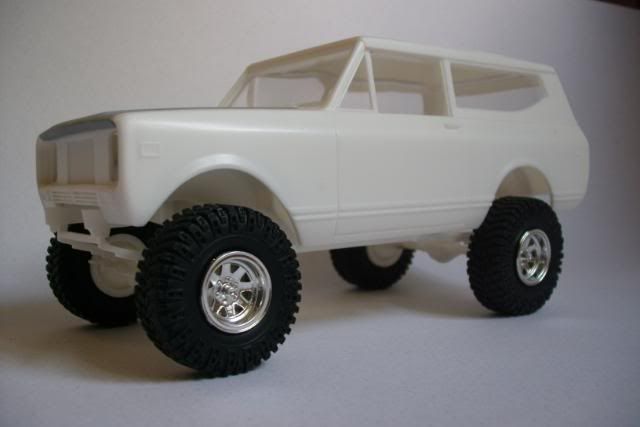 ...and a couple pics of the chassis and tires. As everyone knows, the chassis/interior tub to body fit is pretty sloppy and leaves a lot to be desired. So to help improve on this, I added a small strip of Evergreen to the top edges of the interior panels. While it still isn't the greatest fit, it has helped. 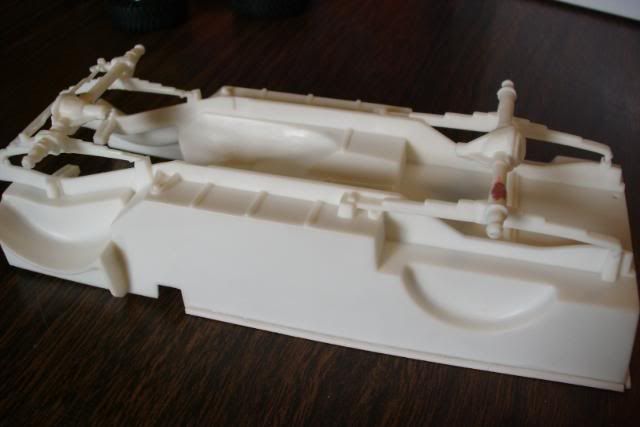 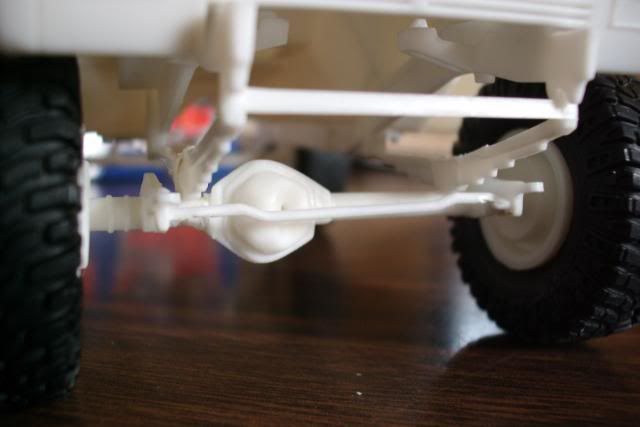 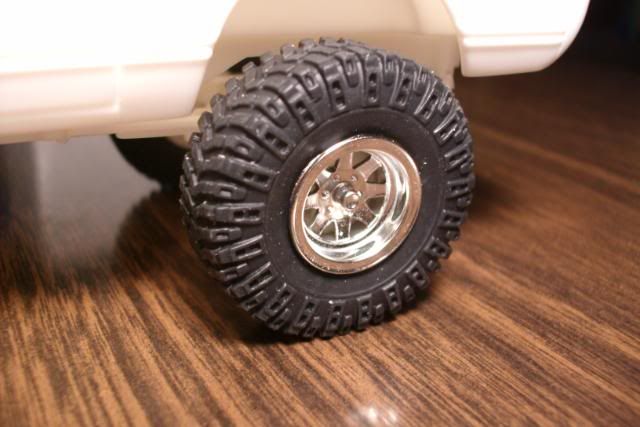 Thanks for taking a gander, and any comments or suggestions are welcome! |
|
|
|
Post by coopdad on Jul 10, 2010 22:04:32 GMT -5
Looking great! A great combo...a lift and Baja Claws.
I am interested in the additional styrene you added to the interior tub. Everyone talks about the grille/hood issue but not heard about the interior. Next time you take pix would you mind trying to get some of that?
Also, what color scheme are you thinking of going with?
John
|
|
|
|
Post by jeffs396 on Jul 11, 2010 2:44:42 GMT -5
That rig looks great Tony! It almost gives me the motivation to drop a few other things & jump back on my Scout  |
|
|
|
Post by bogger44 on Jul 11, 2010 12:17:57 GMT -5
Thank you John and Jeff, I'm glad you guys like it! John - Posting up some pics of the interior tub was no problem. Before I added the styrene to the interior tub, I could move the chassis around a fair bit (left/right) when inside the body with the windows installed. Maybe this isn't as common of a problem with this kit as I had thought, possibly just more of my usual dumb luck. Adding the strips to the drivers and passenger sides helped to tighten it up. Though it really wasn't needed, I also added a strip to the back panel too. Sorry, but I couldn't tell you what diameter the styrene is, the packaging for it went bye-bye a long time ago. I hope I made sense here and explained it all ok. Oh, and for what color, I am leaning towards red with possibly a white top. I'm not totally sure yet, still on the fence about it.  I don't know what got into me with this one, usually on my builds the color is the first thing that I set in concrete.  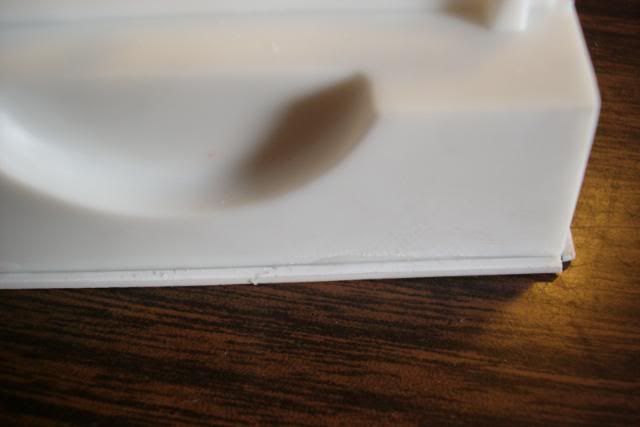 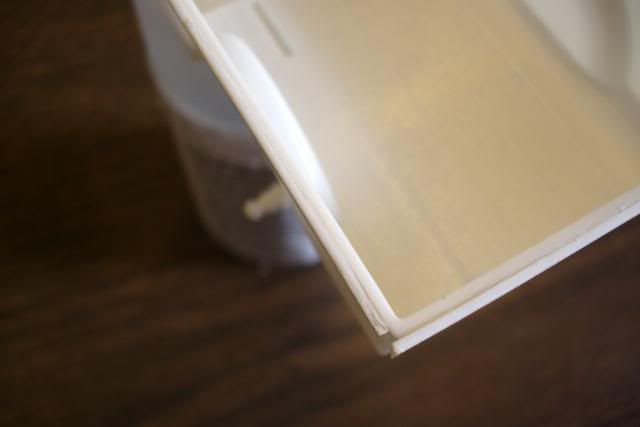 |
|
|
|
Post by wtsf150 on Jul 11, 2010 13:38:29 GMT -5
Shes looking good Tony i really like were this one is headed
Willie
|
|
|
|
Post by Chuck Most on Jul 12, 2010 14:04:08 GMT -5
I'll be keeping an eye on this one... I've got a similar project cooking!
|
|
|
|
Post by bogger44 on Jul 24, 2010 12:37:27 GMT -5
Thanks Willie and Chuck. Nothing really exciting or groundbreaking, but a small update. I finnished up the suspension bits and fogged on some primer. I also managed to wrangle up some shocks from my parts bucket. 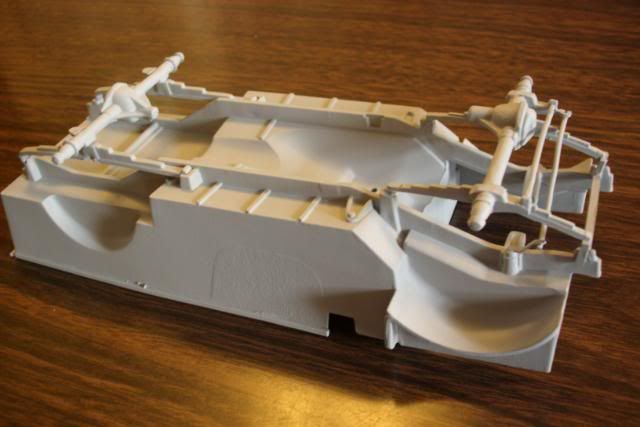 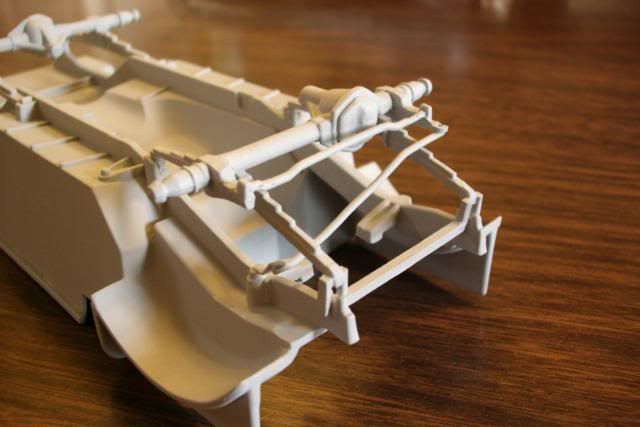 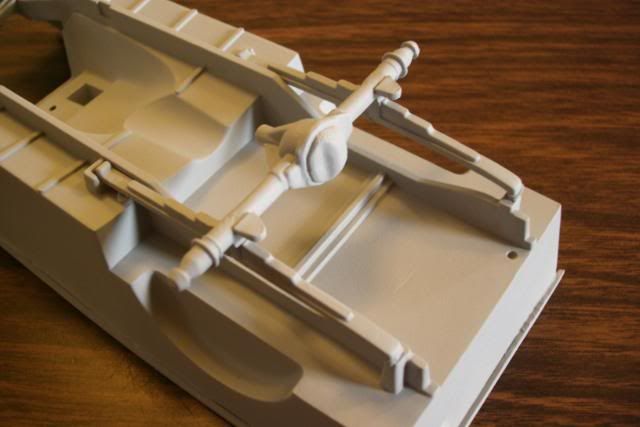 Got a little work done on the 345 also. To make it a little more representable, I scribbed in lines where the heads meet the block, cut off the carb to make room for a four barrel, and drilled out that blob of a distibutor to make room for a Prestons pre-wired piece. 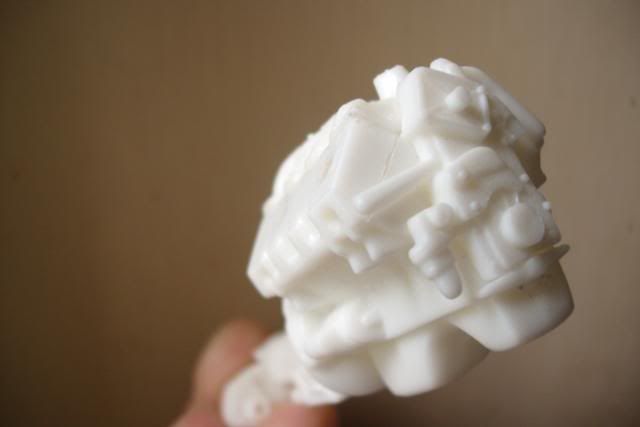 Though it is kinda hard to tell in the pic, I have also trimmed down the thickness of the fan belt by about 1/3, and will be adding a parts bucket find alternator. 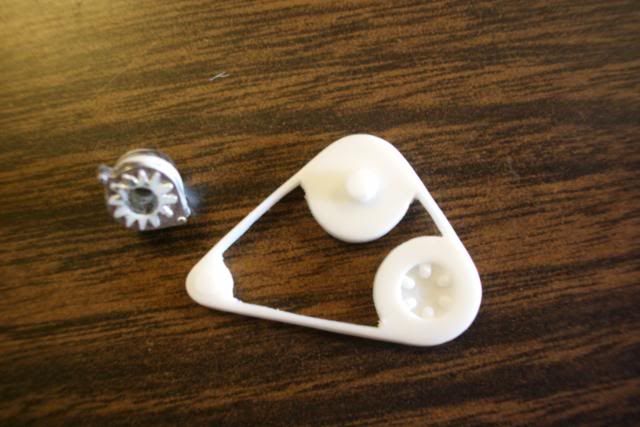 |
|
kynan
Junior Member

Posts: 89
|
Post by kynan on Jul 25, 2010 0:04:59 GMT -5
looking good I always love a great scout model and the real ones I have owned 3 old SC80 over the year's am looking for another one at the moment because of some one braking a bit late at a set of lights last month but they are very rare over here
|
|
|
|
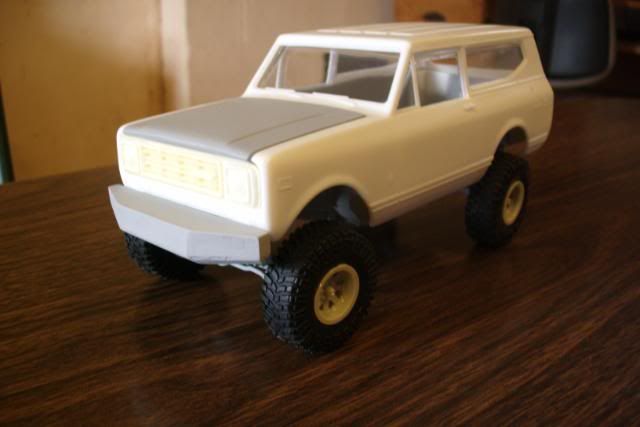
Post by bogger44 on Aug 7, 2010 15:05:26 GMT -5
|
|
kynan
Junior Member
Posts: 89
|
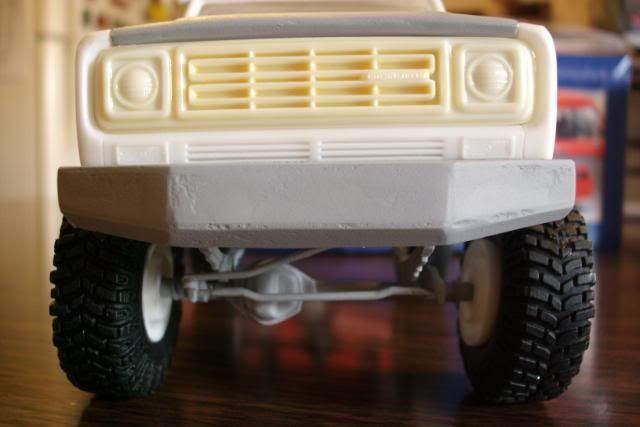
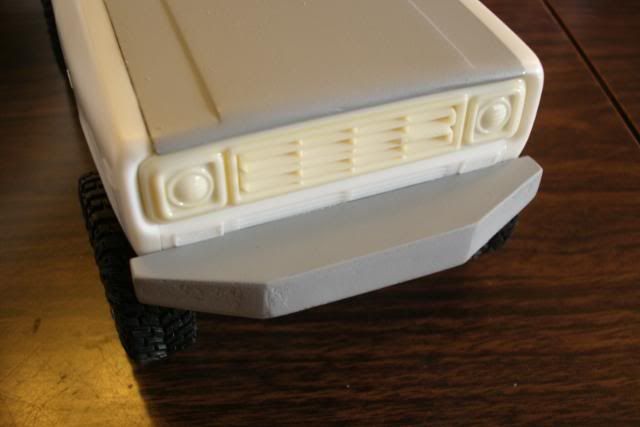
Post by kynan on Aug 7, 2010 19:05:25 GMT -5
The bumper looks good I like it, At this stage it looks a bit wide to me but I think that once you put on the front bars it will look right are you going to put a winch in it? I think that it would look even better with a winch mounted in it.
|
|
|
|
Post by bogger44 on Aug 8, 2010 17:58:04 GMT -5
Thank you for your feedback Kynan, it's much appreciated. I too was thinking it might be a tad wide, though in person it doesn't seem to be as much as the pictures make it to be. When I get the opportunity in the next day or two, I'll be heading down to my LHS to pick up some styrene rod for the bars. Once the bars get installed, I'll post up a couple more pics. And you bet, a winch is in the plans too.  |
|
|
|
Post by coopdad on Aug 8, 2010 20:34:12 GMT -5
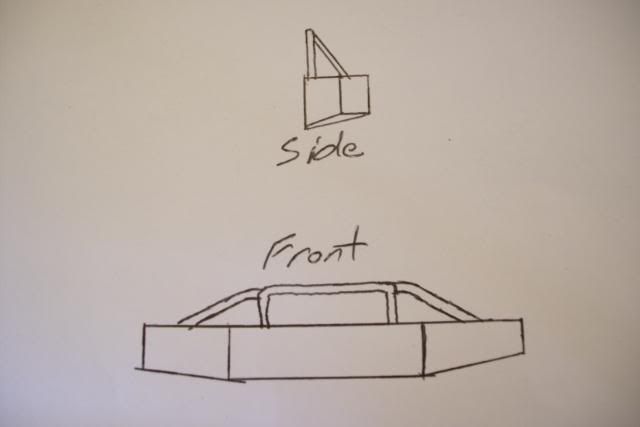
I think it looks great! I did one like this a while back and felt like something was missing about it. Then I noticed that many of these plate bumpers had these things that are used for attaching a tow hook (sorry, can't remember exactly what they are called.) Anyway, it made a big difference. Not the best photo but the only one I have of it:  They are made by cutting a square out of styrene roughly a 1/8" x 1/8" then cut it in half diagonally leaving two triangles. Then drill a hole in it and sand the front rounded. Just a thought. John |
|
|
|
Post by bogger44 on Aug 10, 2010 21:54:34 GMT -5
Hey, thanks for the tip John. I never would have thought of adding those brackets for tow hooks, I'll have to give that a try. Thanks for sharing!
|
|
|
|
Post by crxlowrider on Aug 11, 2010 9:36:23 GMT -5
there called snatch hooks Bogger keep up the great work. i would just have to say i would clean that bumper up but other then that  : |
|
|
|
Post by intimidator01 on Aug 11, 2010 11:19:58 GMT -5
The bumper looks great! and after you get it cleaned up and finished; it'll look great on the truck.  |
|


 I don't know what got into me with this one, usually on my builds the color is the first thing that I set in concrete.